Most people think decorating costs money, but that’s just not true. Your walls can look cool, even if your wallet’s empty. I always say: It’s not about what you buy, it’s about what you do with what you’ve got.
Start by really looking around your room. You probably already have things that could double as wall art—a funny postcard, concert wristbands, old school notebooks. Anything with a memory or a pop of color can be turned into something unique.
Don’t underestimate how powerful a wall covered in photos or doodles can be. Grab some tape (masking tape works best—it won’t wreck your walls) and start arranging pics, drawings, or even random clippings into a shape or a vibe—a grid, a heart shape, a crazy zigzag. No fancy frames needed.
You can seriously change the whole feel of your room just by mixing up what’s already lying around. Stick around for simple but clever tips you’ll actually want to try—no trip to the store required.
- Art from Everyday Stuff
- Photos, Memories, and Homemade Collages
- Creative Use of Tape and Paper
- Nature Finds and Repurposing
- Lighting Tricks for Your Wall Display
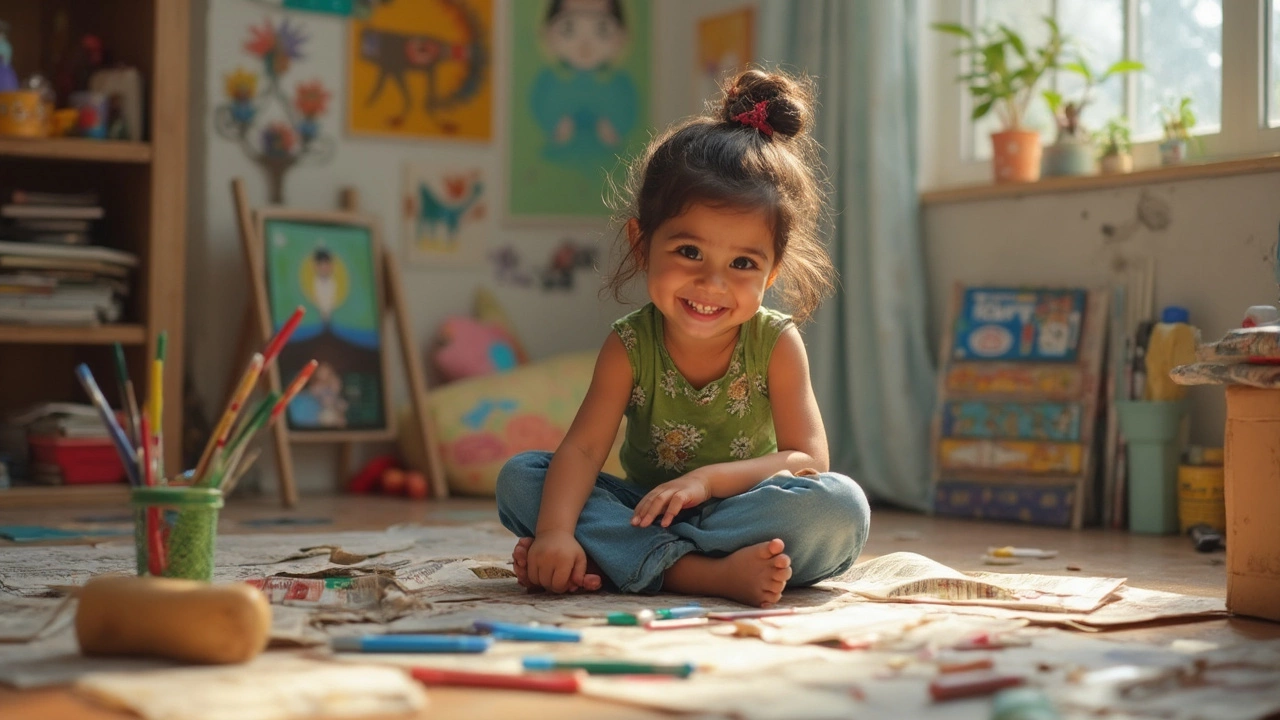
Art from Everyday Stuff
Most people skip the boring pile of junk on their desk or in their drawers, but that pile is actually packed with wall art potential. You really don’t need a shopping spree—just some imagination and a bit of time. Tons of top DIY bloggers have shown how everyday stuff can totally transform a room's vibe for free.
Let’s start with stuff you’d usually ignore. Old magazine pages, shopping bags, flyers, and snack packaging can turn into pop-art style wall pieces. Cut out whatever catches your eye, stick some up in a line, a messy cluster, or a neat shape. You don’t even need scissors if you’re going for an artsy ripped-edge look.
Got empty boxes? Open them up, flatten them, and draw your own designs on the blank insides. Cardboard is super easy to tape up, and you can switch designs whenever you feel like it. Friends have gotten pretty creative by folding ticket stubs or cool receipts into origami, pinning them up, and suddenly your wall becomes part scrapbook, part art gallery.
- Take concert wristbands or event lanyards and hang them on a thumbtack – instant memory lane with almost zero effort.
- Use colorful bottle caps or buttons, arrange them in a pattern, and secure them with double-sided tape for a cool textured look.
- String together random keychains, patches, or pins, then drape them across your wall as a funky garland.
Don’t forget clothing tags or brand labels—some are built for display and look almost like mini modern posters. Glue them onto a sheet of paper and tape the whole thing up. If you want the wall art mood to be super cozy or personal, ask friends to scribble quick messages or inside jokes on paper scraps, and add those to the collection.
The best part? When you use wall art made from everyday stuff, changing your look is just as easy as grabbing new items from around the house. No money, no problem.
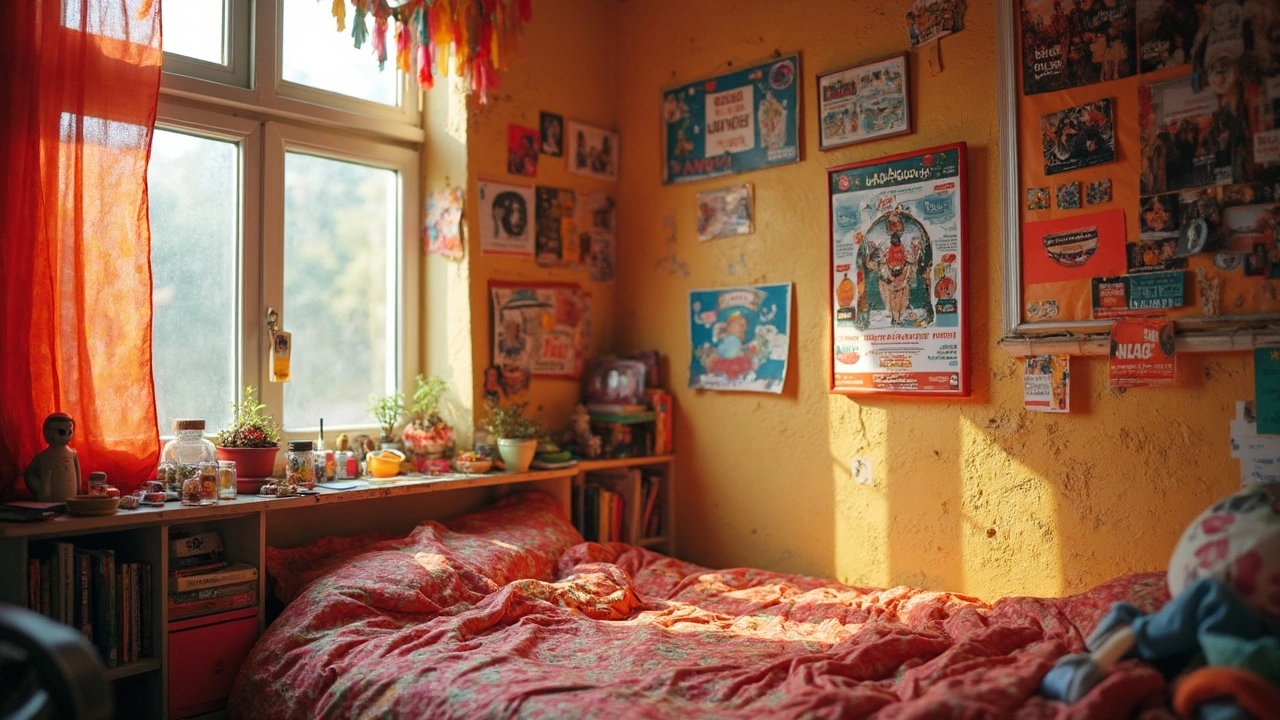
Photos, Memories, and Homemade Collages
If you want your room to feel like it actually belongs to you, nothing beats covering your walls with your favorite photos and memories. It’s personal, costs nothing, and makes a huge impact. You don’t need fancy printers or new frames—most people already have a stack of printed photos or old Polaroids somewhere in a drawer.
Here's a cool fact: According to a 2022 survey by Framebridge, over 53% of people say photos are their favorite way to add personality to their space. It’s nostalgic, it’s fun, and you see your best moments every day.
Try these easy ideas to turn your wall into a collage that’ll make people stop and stare:
- Make a grid with tape or pushpins. Don’t use anything too sharp if you’re renting—washi tape and sticky tack work just as well and leave no marks.
- Mix in old birthday cards, tickets, postcards, or even handwritten notes. This kind of stuff tells your story, not just what’s trending on TikTok.
- If you don’t have printed photos, print them at your local library (some offer prints at less than 30 cents each, way cheaper than a photo store), or go digital with QR codes to your socials or favorite playlists.
- Layer things—overlap photos and mementos for a chill, relaxed look instead of lining everything up perfectly. This feels less like a boring photo album and more like your real life.
- Cut your photos into cool shapes—try circles, stars, or triangles—and watch your wall start to pop. Scissors beat expensive mounts every single time.
Take a look at this quick breakdown showing how people display photos at home (data from Framebridge 2022):
| Display Style | Popularity (%) |
|---|---|
| Pinned to Wall/Corkboard | 38 |
| Framed | 27 |
| Collage/Layered | 21 |
| Other DIY Methods | 14 |
The best part? Swapping out pics or adding new memories is fast and easy. Before you know it, your wall is a living, changing version of the coolest times in your life. And that’s what wall art is all about: showing off what makes you, you. No cash needed—just your story.
Creative Use of Tape and Paper
Here’s where you get to have fun and mess around a bit. Tape and paper aren’t just for sticking up class notes or shopping lists—they can totally change your walls and give them way more personality. Best part? You don’t need art skills or a big budget.
Let’s talk about wall art—washi tape is awesome for this, but painter’s tape works too. Try making geometric shapes, city skylines, or patterns just by sticking and arranging tape directly on your wall. It peels off clean and gives your space fresh vibes. According to interior designer Emily Henderson,
“Temporary tape art is a smart trick for renters or anyone who loves to switch things up often—no tools, no damage.”
You can also turn scrap paper into standout decor. Grab old magazines, colored pages, or even notebook paper you don’t use. Make simple origami, cut out cool letters for quotes, or layer shapes for a 3D effect. Quick tip: cutting triangles from colored paper and taping them as a garland looks way more fun than you’d guess.
- Stick up flyers or posters with tape patterns around the edge for a bold border.
- Fold paper into cranes or stars and tape them in clusters to create a wall ‘sculpture.’
- Create a mood board with bits of paper, clippings, and tape for instant inspiration.
If you’re into numbers, a 2024 DIY survey showed that 61% of people who tried tape art said it made their room feel more personal—and 73% would do it again because it’s so easy to switch up.
| Project Type | Time Needed | Best Tape |
|---|---|---|
| Simple Shapes | 10-20 min | Washi/Painter’s |
| Origami Art | 30-60 min | Masking |
| Paper Garland | 15 min | Double-sided |
The bottom line: Don’t overthink it. If you mess up, peel the tape off and try again. You’ll be surprised how much life a little tape and paper can bring to your room.
Nature Finds and Repurposing
A walk outside can score you some of the coolest free wall art materials. Seriously, nature’s got the goods: branches, leaves, rocks, or even cool-shaped pine cones can totally change up your room’s vibe. And when you use what you find, nothing will look cookie-cutter.
If you’re into dried flowers or leaves, just press them between two heavy books for a week, then tape or glue them onto a plain piece of paper or cardboard. Stick that straight onto the wall, and boom—instant art. If you find a branch that’s an interesting shape, hang it with string, and use clothespins to display photos, jewelry, or ticket stubs. You’re building something that’s flexible and personal.
Don’t toss out random stuff around your house either. Old T-shirts, food packaging (like chip bags with wild designs), or even broken gadgets can work as creative materials. Try cutting an old cereal box into a geometric shape, wrapping it in tinfoil or colored paper, then sticking it on the wall. Layering a few different pieces can make a cool focal point.
Here’s some quick inspiration you can try right now:
- Collect stones from the park and paint doodles or messages on them, then line them along a shelf or glue onto a wooden plank for wall art.
- Turn bottle caps into a colorful mosaic by sticking them onto cardboard.
- Frame a piece of cool old fabric (even an old scarf or bandana) and hang as a centerpiece.
Let’s look at what people usually find outside for decor—this is what gets used the most:
| Nature Find | Popular Use | Estimated Life Indoors |
|---|---|---|
| Branches | Hangers/Display Rails | 2-3 years (dry branch) |
| Dried Leaves | Framed/Pressed Art | 6-12 months |
| Stones | Decorative Arrangements | Indefinite |
| Pinecones | Wall Clusters/Hanging | 1-2 years |
| Flowers | Pressed or Dried Displays | 3-6 months |
Mixing natural finds and old stuff is the fastest way to get rare wall art nobody else has. Plus, it’s better for your bank account—and the planet. Max (my dog) once dragged in a gnarly-looking stick that looked like modern art when I taped it to a white panel. If a dog can spot art potential, anyone can.
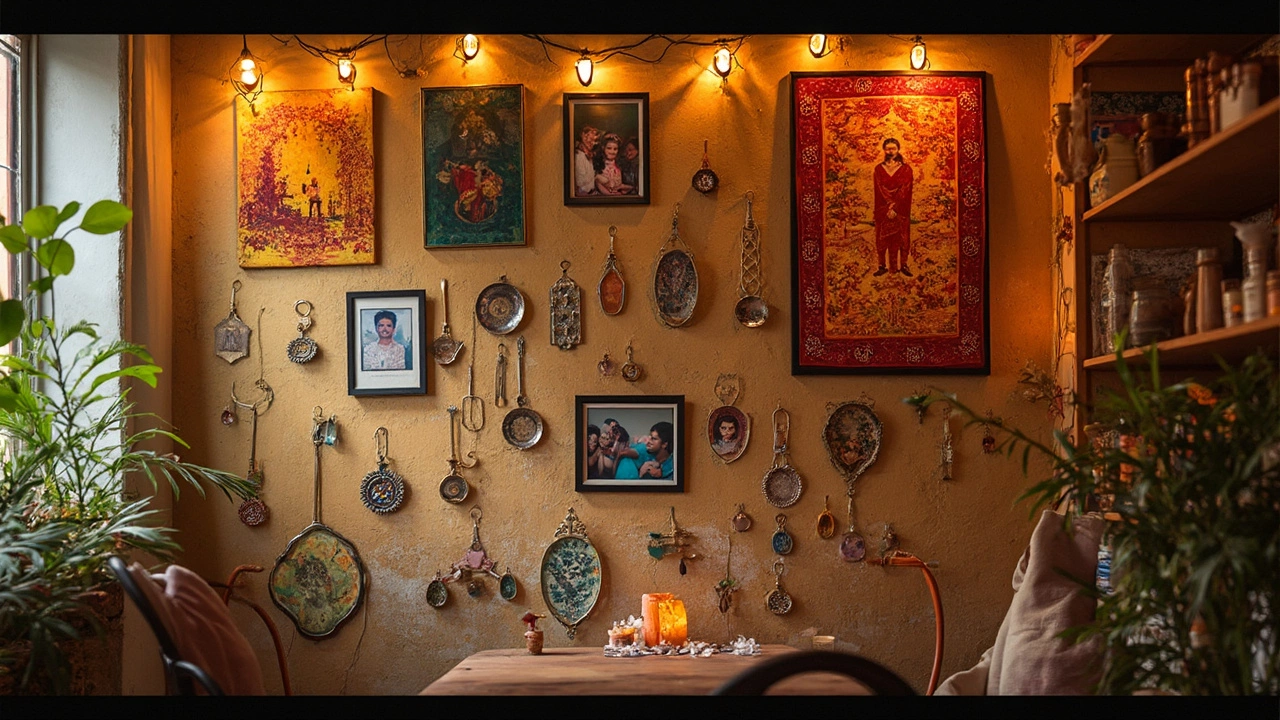
Lighting Tricks for Your Wall Display
Good lighting can make any wall art pop, even if you've put it together from stuff in your junk drawer. You don't need fancy LED panels or smart lights. Chances are, there’s something around your home you can use to level up the look in seconds.
Here’s the cool part: how you light your wall can change everything. Soft, indirect light will make your collage look dreamy. Hard light from a lamp can add drama and make colors stand out. Just moving a lamp closer to your decorated wall can do wonders. Don't have a desk lamp? Even fairy lights from Christmas can totally change the mood.
- Run string lights along the edge of your artwork or photos. Tape or tiny hooks work if you don’t want to put nails in the wall.
- Clipped-on lamps aimed at your wall can spotlight your favorite section. Get creative and use binder clips to secure the lamp to a shelf—no fancy setup needed.
- If you’ve got candles or LED tealights, put them on a shelf so the glow hits the wall. Never put real candles too close to paper or cloth, though—fire safety matters.
- Even using your phone’s flashlight, shining it from below or above at different angles, can give you a very different look and vibe for your DIY setup.
Here’s a handy table for quick ideas using items you probably already have:
| Item You Have | Lighting Trick | Effect |
|---|---|---|
| String/fairy lights | Hang or drape around art | Cozy, soft glow; highlights all edges |
| Desk lamp | Angle toward wall display | Makes colors pop; creates shadows |
| Mirror | Place across from light source | Reflects light back, brightens up art |
| LED candles/tealights | Put on shelf near wall | Warms up the whole display |
| Phone flashlight | Shine at different angles | Experiment with drama/shadows |
Here’s something wild: NASA has done tons of research into how light affects mood and focus. Even swapping harsh overhead bulbs for a few smaller lamps pointed at your wall art can help you chill out or concentrate better. So your no-budget room upgrade might actually boost your brain, not just your style.
In the end, don’t overthink it. Play with what you have, move things around, see what makes you grin. There’s no wrong answer when you’re using what you love.