Storage Solution Cost‑per‑SqFt Calculator
\nSelect a storage solution, enter your estimated cost and expected space gain, then see the cost per square foot.
\n \n \n\n \n \n
\n \n \n
\n \n \n \n \n
Extra storage space is a home storage solution that adds usable square footage without expanding the building footprint. When closets feel cramped or the garage turns into a catch‑all, the obvious answer is to create more room for the things you actually need to keep. Below you’ll find a toolbox of strategies that work in apartments, townhouses, and sprawling suburban homes alike. Each method is broken down into cost, effort, and the amount of space you’ll actually gain, so you can pick the one that fits your budget and timeline.
Assessing Your Space and Needs
Before you start drilling, you need a clear picture of what you own and where you’re short. A quick audit helps you avoid buying storage you’ll never use. Grab a tape measure, a notebook, and follow these three steps:
- List every category of items that lack a home (seasonal gear, sports equipment, paperwork, etc.).
- Measure the dimensions of existing closets, cupboards, and under‑utilised nooks.
- Rank each category by frequency of use and sentimental value.
With that data in hand, you can match the right storage solution to the right problem.
Built‑in Wardrobe Systems
Built‑in wardrobe is a customised closet that integrates directly into a room’s structural walls. The advantage over freestanding wardrobes is the efficient use of floor space and the ability to tailor heights, shelves, and hanging rods to your exact wardrobe inventory. A mid‑range system in Sydney typically costs between $3,500 and $7,000, including design, materials, and installation.
- Space gain: up to 25% more clothing storage compared with a standard wardrobe.
- DIY difficulty: medium - you’ll need basic carpentry skills and access to a power drill.
- Best for: master bedrooms and large children’s rooms where floor space is at a premium.
Many homeowners repurpose a hallway closet that was previously a shallow coat rack, turning it into a sleek walk‑in system with sliding doors.
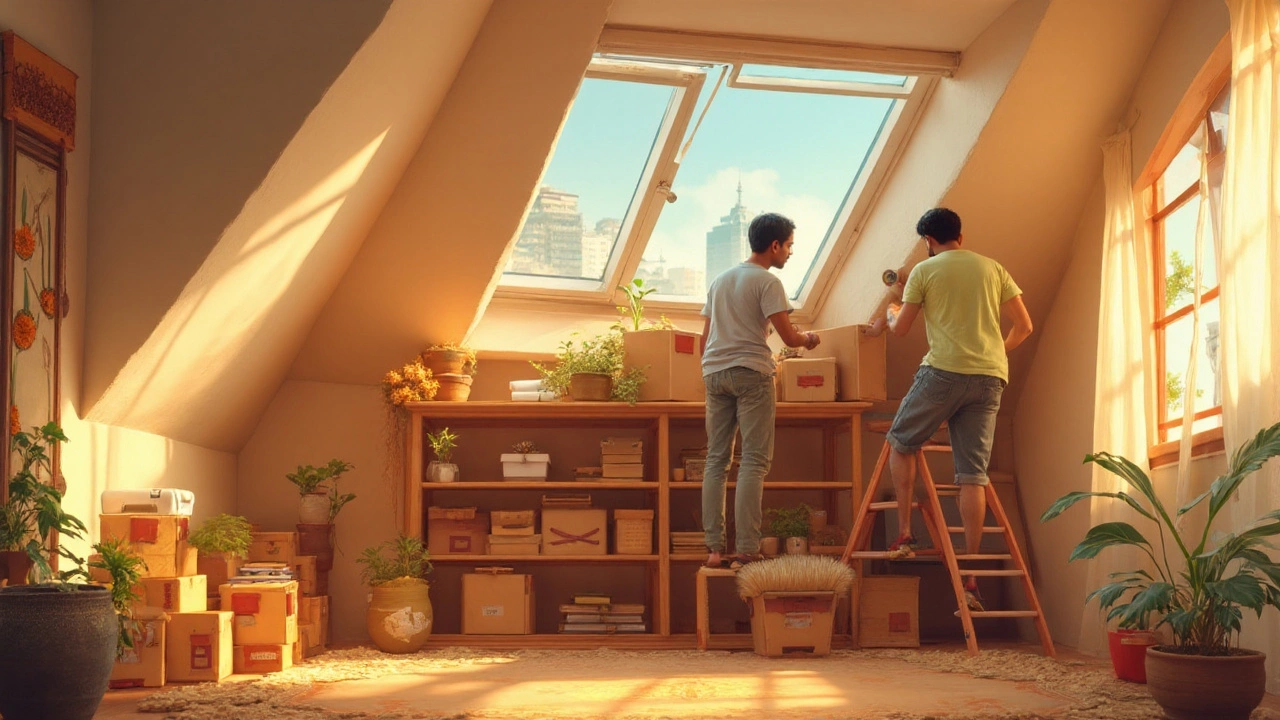
Attic Conversion
Attic conversion is a renovation that transforms unused roof space into functional rooms or storage areas. In older Sydney homes, the attic often sits unused because the ceiling height is low. By reinforcing joists, adding insulation, and installing a low‑profile ladder, you can unlock 30‑50 square metres of storage or even an extra bedroom.
Key considerations:
- Cost: $12,000‑$25,000 depending on structural work and finish level.
- Space gain: Up to 1,500sqft of usable area.
- DIY difficulty: high - most homeowners hire a licensed carpenter and an electrician for lighting.
Because the attic is part of the house’s envelope, you also improve energy efficiency with proper insulation, which can lower heating bills by up to 10% per year (Australian Bureau of Statistics, 2023).
Under‑Stair Cupboard
Under‑stair cupboard is a compact storage unit built into the space beneath a staircase. This area is often overlooked, yet a well‑designed pull‑out drawer system can hold cleaning supplies, shoes, or pet accessories.
- Cost: $800‑$1,500 for prefabricated kits.
- Space gain: 5‑10sqft of dedicated storage.
- DIY difficulty: low - many kits come with pre‑drilled holes and instructions.
Tip: use full‑extension drawer slides so you can see everything without crouching.
Modular Storage Units
Modular storage unit is a flexible shelving system made of interchangeable panels and connectors. Brands like IKEA and Australian retailer Bunnings sell modules that can be stacked vertically or arranged horizontally, making them perfect for garages, basements, or even living rooms.
Advantages include:
- Cost: $200‑$1,200 depending on size and material.
- Space gain: Scalable - you can start with a 2‑shelf unit and expand as needed.
- DIY difficulty: very low - most units snap together without tools.
Because they’re not fixed to walls, you can re‑configure them when you move or when seasonal items change.
Wall‑Mounted Shelving
Wall‑mounted shelving is a fixed shelving system attached directly to interior walls. This option is ideal for narrow corridors or above‑doorways where floor space is scarce.
- Cost: $150‑$600 for quality hardwood or metal brackets.
- Space gain: Up to 12sqft of vertical storage.
- DIY difficulty: medium - you’ll need a level, stud finder, and drill.
Use sealed glass jars for pantry staples on high shelves, keeping your kitchen tidy and your eyes on inventory.

Garage Shelving Systems
Garage shelving is a heavy‑duty rack designed to hold tools, sports gear, and bulk items in a garage or workshop. Steel frames with powder‑coated finishes resist rust, making them suited to the humid Sydney climate.
- Cost: $400‑$2,000 for a 4‑tier unit.
- Space gain: Up to 20sqft of organized storage.
- DIY difficulty: low - most units are assembled with an Allen key.
Install a wall‑mounted pegboard above the shelves to hang smaller tools, freeing drawer space.
Mezzanine Floor
Mezzanine floor is a raised platform that creates an additional level of usable area without expanding the building envelope. This is a bold option for homes with high ceilings, especially in loft apartments.
- Cost: $15,000‑$30,000 for a professionally‑installed steel frame and decking.
- Space gain: 200‑400sqft of storage or living space.
- DIY difficulty: very high - structural engineering approval is usually required.
Many owners use the mezzanine for a home office, a guest bedroom, or simply a sprawling closet that can accommodate seasonal wardrobes.
Comparison of Popular Solutions
| Solution | Typical Cost (AUD) | Space Gain | DIY Difficulty |
|---|---|---|---|
| Attic conversion | $12,000‑$25,000 | 1,500sqft | High |
| Under‑stair cupboard | $800‑$1,500 | 5‑10sqft | Low |
| Modular storage unit | $200‑$1,200 | Scalable | Very Low |
| Mezzanine floor | $15,000‑$30,000 | 200‑400sqft | Very High |
| Wall‑mounted shelving | $150‑$600 | Up to 12sqft | Medium |
Putting It All Together: A Step‑by‑Step Mini‑Project
If you’re unsure which solution fits, start with a quick pilot: install a set of modular units in the garage, then reassess. Here’s a simple workflow that lets you evaluate ROI before committing to a larger renovation.
- Identify the pilot zone: Choose a 2‑metre wide section of wall that sees daily traffic.
- Measure and plan: Sketch a layout, noting vertical spacing (minimum 30cm between shelves for bins).
- Purchase components: Buy a 4‑tier modular unit with adjustable brackets.
- Install: Follow the manufacturer’s guide - typically two screws per bracket, level check after each tier.
- Stock and test: Place everyday items (cleaning supplies, sports gear) on the new shelves. Note any remaining gaps.
- Evaluate: After one month, measure how many items moved from the floor to the shelves and calculate time saved retrieving them.
- Scale up or pivot: If the pilot saved space and time, replicate the system in the hallway or add a pull‑out pantry in the kitchen.
This low‑risk approach lets you experiment with extra storage without a massive upfront expense.
Maintenance Tips for Long‑Lasting Storage
Any storage system will degrade if you neglect it. Follow these simple habits:
- Label boxes and bins using a consistent color code - visual cues reduce hunting time.
- Every six months, pull everything out, wipe down surfaces, and reassess the need for each item.
- For loft and attic areas, install a small dehumidifier; moisture can warp wood and promote mould.
- Check load limits on shelving brackets and re‑tighten bolts after the first few weeks of use.
Next Steps in Your Home‑Improvement Journey
Now that you’ve got a toolbox of storage ideas, consider branching out into related projects:
- Interior design: Use the newly freed floor space to introduce a seating nook or a reading corner.
- Home décor: Add decorative baskets or fabric covers to blend storage with style.
- Energy efficiency: Insulate an attic conversion to reduce heating bills, tying into a broader sustainability plan.
Each of these topics sits in the larger “Home Improvement” cluster, giving you plenty of material for future upgrades.
Frequently Asked Questions
What’s the cheapest way to add extra storage?
Installing modular storage units or wall‑mounted shelves is usually the most budget‑friendly option, with costs starting around $200 for a basic kit.
Can I convert my attic without a building permit?
In most Australian states, a permit is required if you alter the structural framing or add a staircase. Minor insulation upgrades may be exempt, but always check with your local council.
How much weight can standard garage shelving hold?
Heavy‑duty steel shelves are rated for 200kg per tier when properly anchored to studs. Lighter particle‑board units usually hold 40‑60kg per shelf.
Is an under‑stair cupboard worth the investment?
Yes, if you struggle with shoe or cleaning‑supply clutter. The ROI comes from freeing floor space and reducing the need for external storage rentals.
What are the fire‑safety considerations for attic storage?
Avoid storing flammable liquids or chemicals in the attic. Install smoke detectors rated for high‑temperature environments and keep clear egress routes from the roof hatch.
How do I choose the right ladder for an attic conversion?
A fold‑down loft ladder with a load rating of at least 150kg is recommended. Opt for a model with anti‑slip treads and a locking mechanism for safety.
Can I install mezzanine flooring myself?
Only if you have experience with structural framing. In most cases, a licensed engineer must sign off, and a building certifier is needed for compliance.